
How To Write The Perfect Documentation For Your GitHub Project
Effective project communication is crucial for developers, and GitHub offers a powerful platform to achieve that.
This article will show you the best practices for creating clear and concise documentation.
Let's start.
Importance of Clear and Concise Project Communication
Clear and concise project communication is the backbone of successful software development.
Documentation plays a vital role in ensuring that all stakeholders, including developers, designers, and project managers, are on the same page and clearly understand the project's objectives and requirements.
Without proper documentation, miscommunication and confusion can arise, leading to delays, errors, and project failure.
Benefits of clear communication
One of the key benefits of clear and concise project communication is the ability to collaborate with team members effectively.
When you provide clear instructions, guidelines, and expectations, documentation allows team members to work together seamlessly, reducing the chances of misunderstanding and promoting a more productive and efficient workflow.
Clear documentation enables new team members to onboard quickly, as they can easily understand the project structure, codebase, and requirements.
Understand GitHub Documentation

GitHub is a web-based platform allowing developers to host, collaborate, and manage their code repositories.
It provides a range of features and tools specifically designed to facilitate effective project communication.
At its core, GitHub documentation refers to the written content accompanying a code repository.
This documentation guides developers, outlining the project's purpose, structure, and usage.
It includes essential information such as installation instructions, API references, troubleshooting guides, and more.
GitHub documentation can take various forms, including README files, wikis, issue tracking, and project boards.
Use Markdown for Clear and Formatted Documentation
Markdown is a lightweight markup language that allows you to format text intuitively.
GitHub supports Markdown, making it an excellent choice for creating clear and formatted documentation.
By leveraging Markdown, you can enhance your documentation's readability and visual appeal.
Use headings and subheadings
Structure your documentation using headings and subheadings. This helps organise content and makes it easier for readers to navigate the documentation.
Use the hash symbol (#) and a space to create headings.
The number of hash symbols determines the heading level (e.g., one hash symbol for a top-level heading, two for a subheading, and so on).
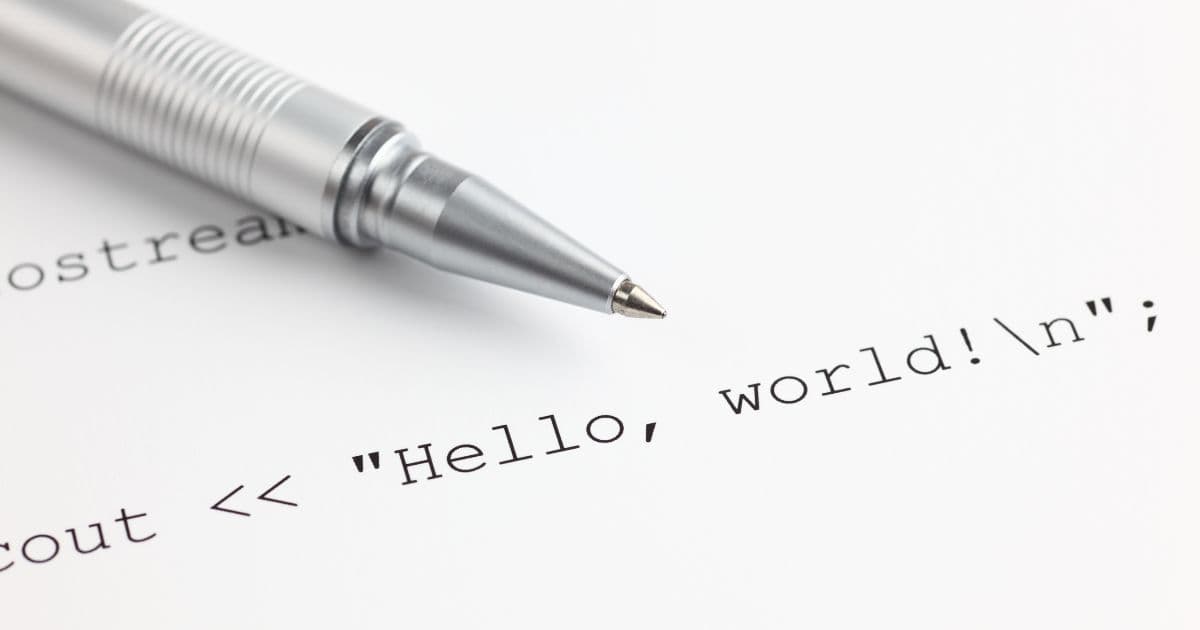
Format code blocks
Use Markdown's code block syntax to format code snippets.
Enclose code snippets within triple backticks (```).
This highlights the code and maintains its formatting, making it easier for readers to distinguish between code and regular text.
Add emphasis and a strong emphasis
Use asterisks (*) or underscores (_) to add focus or strong emphasis to the text.
This helps in drawing attention to important information.
For example, *italic* or _italic_ renders as italic, while **bold** or __bold__ renders as bold.
Create lists

Use Markdown's list syntax to create ordered or unordered lists.
Note the difference between ordered and unordered lists: use numbered lists when the order matters. Use bullet points when the order is not important.
Often people mistake the two, and it adds confusion to the documentation.
Use numbered lists to explain procedural concepts. For example, to explain how to clone a GitHub repository to a local machine, you'll write something like this:
Select the
<> Codebutton.Copy the SSH link.
Open your terminal.
And so on.
Writing the above using bullet points means the user doesn't have to follow the order. When using bullet points, stick to a reasonable number (3-4).
You can lose the reader's attention by creating a long list of bullet points.
Insert links and images.
Markdown allows you to insert links and images into your documentation. Use square brackets to create a link or image description, followed by the URL or file path in parentheses.
Create a README File for Project Overview
A README file is a crucial component of any GitHub repository.
It serves as the entry point for your project, providing an overview of its purpose, features, installation instructions, and more.
A README file is especially powerful when job-searching because:
A non-technical recruiter can understand the purpose of the project.
It shows that you possess an additional skill (which is writing).
Creating a comprehensive README file allows you to effectively communicate your project's value and encourage collaboration with other developers.
1. Start with a project description
Begin your README file with a brief project description. Clearly state the purpose, goals, and intended audience of your project. This helps readers quickly understand your project and whether it aligns with their needs.
2. Include installation instructions
Provide detailed instructions on how to install and set up your project.
Include any dependencies, system requirements, and step-by-step instructions. This will help other developers get started with your project quickly and reduce potential issues related to installation.
In this step, use numbered lists instead of bullet points.
3. Highlight key features
Showcase your project's key features and functionalities. This will help readers quickly grasp what your project offers and its potential benefits.
Use bullet points or concise descriptions to highlight the main features.
4. Provide usage examples
Include usage examples to help readers understand how to use your project effectively.
This can include code snippets, command-line examples, or screenshots demonstrating the project in action.
Real-world examples help readers relate to your project and envision how it can solve their problems.
5. Document API references
If your project exposes an API, document the API endpoints, request/response formats, and authentication requirements.
This helps developers integrate your project with their applications and ensures a smooth integration process.
Key Takeaways
After reading this article, you know how to create the perfect documentation for your GitHub project.
If you enjoyed this article, I share more content like this in my FREE weekly newsletter.
I hope to see you there!